
This document covers the setup of AEM as a Cloud Service
Content
- AEM local setup Minimum System Requirement.
- AEM local setup prerequisite.
- How to setup aem local instance.
- Example of AEM local setup
1. AEM local setup Minimum System Requirements.
- 5GB of free disk space for installation
- 2GB of RAM
2. AEM local setup prerequisite.
- AEM Quickstart Jar
- Java 8/11 (Open JDK or Oracle Java)
- Maven (3.5.3+)
3. How to setup AEM local instance.
- Update the system environment with JAVA_HOME and M2_HOME
- Add JAVA and Maven bin paths to the system path
- Download AEM SDK from AEM Software Distribution
- Extract the JAR from the download zip file
- create two folders named author and publish and put the same jar inside both folders
- Rename it with
aem-author-p4502.jarandaem-publish-p4503.jar - Run the command inside both folders with the
java -jar aem-author-p4502.jarandjava -jar aem-publish-p4503.jar - Link both author and publish instance
- Build your project and BOOM you are done!
4. Example of AEM local setup.
- Download and install JAVA JDK.
Please download the JDK from https://www.oracle.com/in/java/technologies/downloads/ - Download Maven binaries from this link
https://archive.apache.org/dist/maven/maven-3/
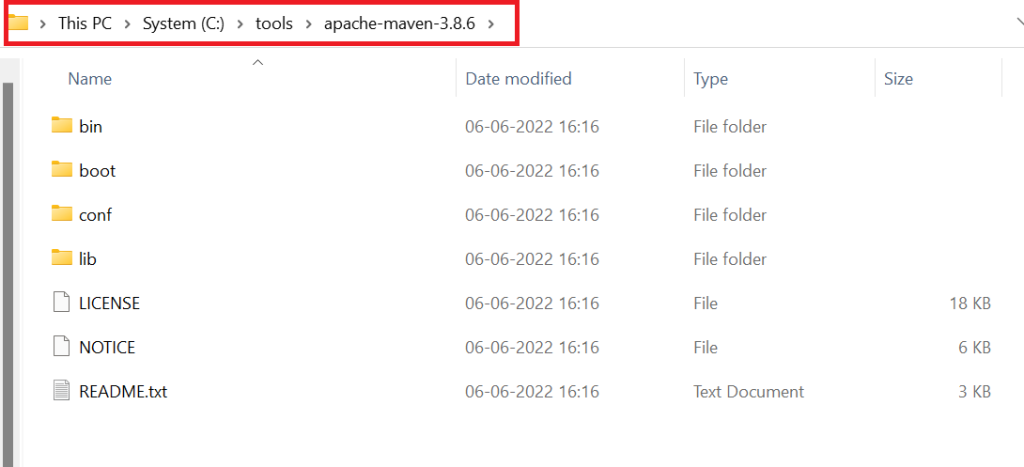
And extract the zip file to a specific location. In my case, it isC:\tools\apache-maven-3.8.6
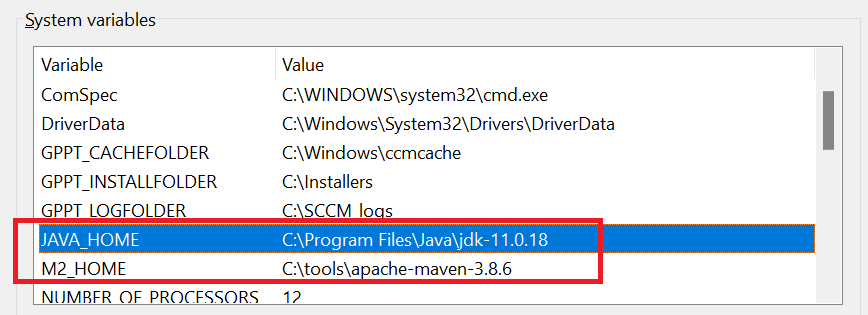
- Create the system or user variables for the following:
1. JAVA_HOME
2. M2_HOME
For Windows:
Please follow the instructions from this linkhttps://aemgeeks.com/aem-tutorials/set-environment-variable-in-windows/
For Mac:
Open the terminal and run the below commands:
JAVA_HOME="/Library/<your_java_installation_path>/jdk-11.0.18.jdk/Contents/Home"
PATH="${JAVA_HOME}/bin:${PATH}"
export PATH
export M2_HOME="/<your_apache_maven_extracted_path>/apache-maven-3.6.3"
PATH="${M2_HOME}/bin:${PATH}"
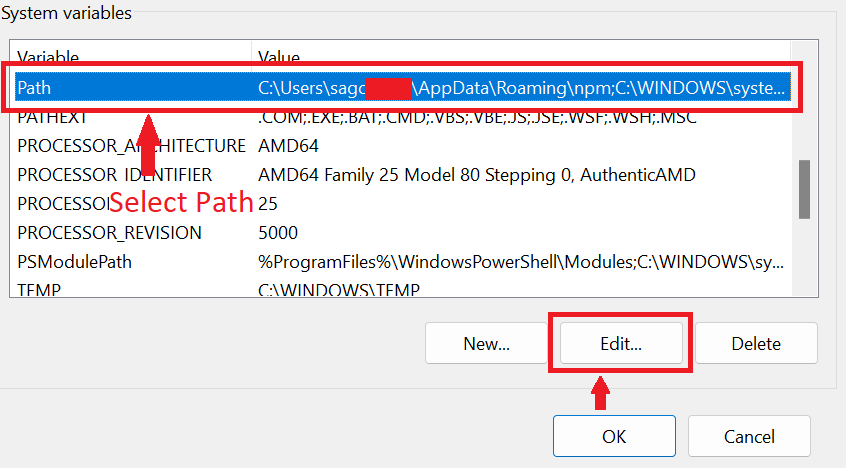
export PATH- Add JAVA and Maven bin paths to the system path
For Windows:
Go to System Variable as mentioned in the previous step find the PATH environment variable and select and click the “Edit “button. and append both the Java and Maven paths separated by a semicolon (;). In my case, I have added the –%JAVA_HOME%\bin;%M2_HOME%\bin
For Mac: You have already done it with the previous step
- Download AEM SDK from AEM Software Distribution (Software Distribution) Or Collect the jar file from your project team member. If you have already the jar file, you can skip the next two steps.
- Extract the AEM SDK zip file and you can see the jar file inside the extracted folder
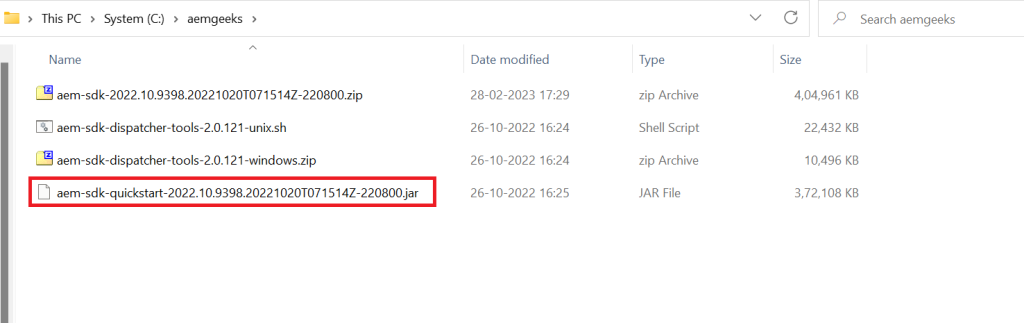
- Copy the jar file
- Now create two folders, named
- author
- publish
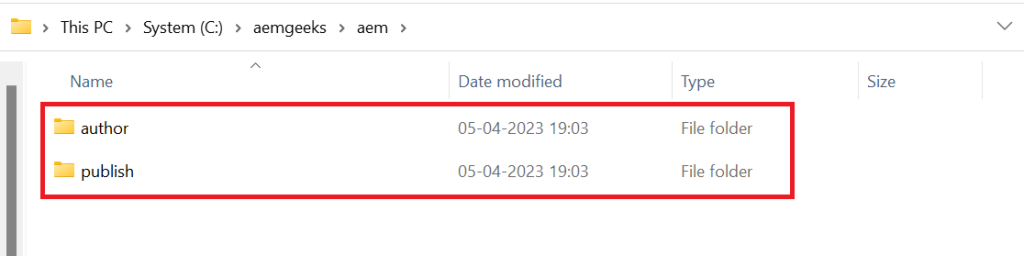
- Paste the same jar file inside both author and publish folder
- Change the jar name
- Change the author folder’s jar name to
aem-author-p4502.jar(This jar is for author instance) - Change the publish folder’s jar name to
aem-publish-p4503.jar(This jar is for publish instance)
- Change the author folder’s jar name to


- Here p4502/p4503 is indicating port, you can use your available port.
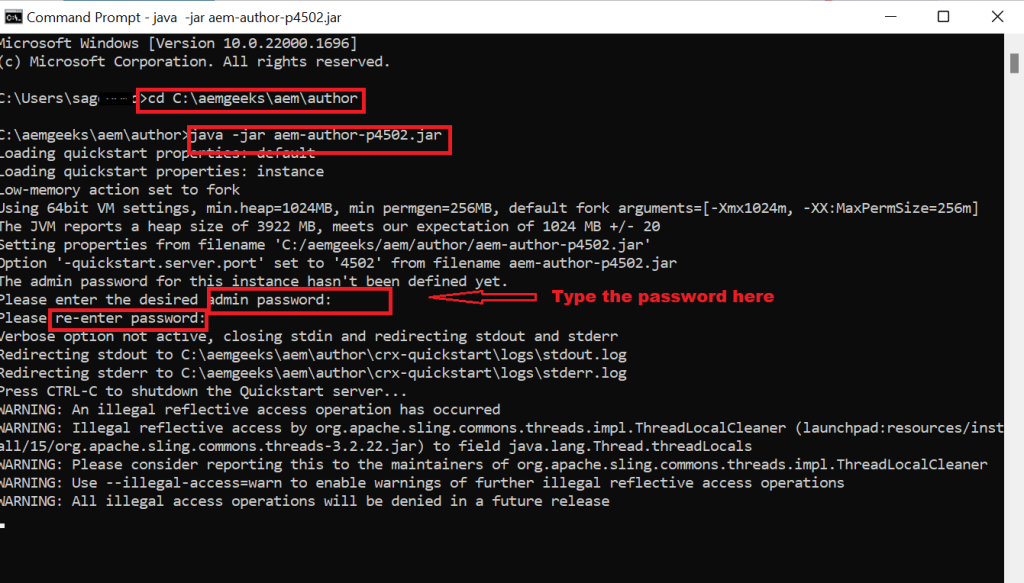
- Open the command prompt and navigate to the author folder by
cd - And run the command
java -jar aem-author-p4502.jar
To run the aem author instance in debug mode usejava -Xmx2048M -agentlib:jdwp=transport=dt_socket,address=8888,server=y,suspend=n -jar aem-author-p4502.jar
For more details about debugging mode follow this link How to start AEM in debug mode – AEM Geeks - Type the password (the default username for local is admin)
- Once the installation is complete a new browser tab will be opened automatically with your author instance link. Even you can type on the browser localhost:4502 to access the author instance.
- Do the same for publish as well
- Open the command prompt and navigate to the publish folder by
cd - Run the command
java -jar aem-publish-p4503.jar - Type the password (the default username for local is admin)
- Type on the browser localhost:4503 to access the publish instance.
- Connect author and publish. Please follow the instruction from the below link
https://aemgeeks.com/aem-setup/configuring-author-and-publish-instance-in-aem-as-cloud-service - And you are Done!
Happy Coding!
AEM Developer
Leave a Reply